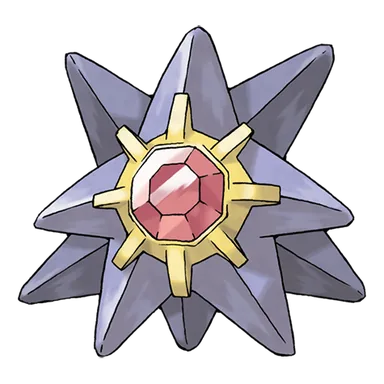
Staryu is a Water-type Pokémon introduced in Generation I and the first stage of its evolution line, with a base stat total of 340.
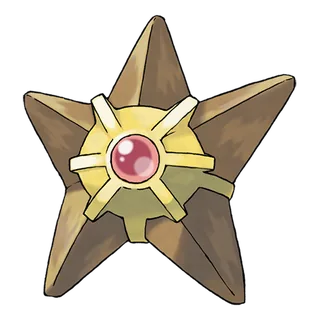
Staryu

Abilities
Encounter rate increases.
Heals upon switching out.
Boosts move power when the Pokémon moves last.
Hidden AbilityBase Stats
Staryu's Weaknesses and Resistances



Evolution Chain
Staryu evolves into Starmie with a Water Stone.
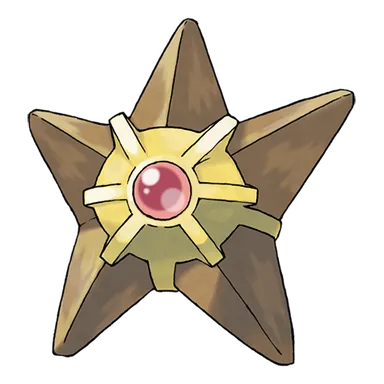 Staryu
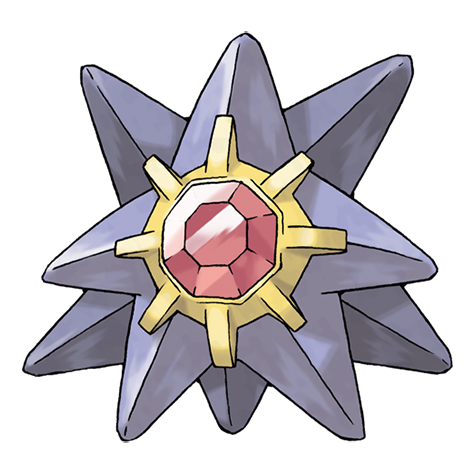 Starmie

Staryu Playthrough, Competitive, and Nuzlocke Usage
Using Staryu in a Playthrough
The Staryu line produces Starmie, one of the strongest general-purpose Water-type attackers available across many generations. Starmie combines 115 Speed with 100 Special Attack and Water/Psychic STAB, while unusually broad special coverage can include Ice Beam and Thunderbolt in games where the relevant TMs or move systems are available. Recover gives it reliable longevity, and Natural Cure can remove status simply by switching in generations where that ability exists. Water Stone evolution allows Starmie to be obtained without lengthy level grinding, although the player may need to consider Staryu's desired moves before evolving in games where stone evolutions have restricted level-up learnsets. Its physical bulk is only moderate, but its Speed frequently provides safety by allowing it to remove threats before taking damage.
Staryu in Competitive Pokémon
Starmie has one of the strongest and longest-lasting competitive histories among Generation I Water-types. High Speed, good Special Attack, Water/Psychic STAB, excellent coverage, Recover, and Natural Cure have allowed it to function as an offensive attacker, defensive utility Pokemon, and especially as one of the series' premier Rapid Spin users across multiple generations. Smogon analyses in both ADV and DPP emphasize the combination of Rapid Spin and Recover, while later generations added Analytic as an offensive option that can punish switches and slower interactions. Starmie's ability to remove hazards without surrendering offensive pressure has historically separated it from many competing spinners. Mega Starmie was subsequently introduced in Pokemon Legends: Z-A, but its long-term conventional competitive identity should be evaluated separately as formats incorporating that Mega form develop.
Staryu in Nuzlockes
Starmie is an excellent Nuzlocke Pokemon when its encounter, Water Stone, and desired TMs are reasonably accessible. FireRed and LeafGreen community analysis places it among the strongest Water encounters in the game because high Speed and Special Attack combine with Surf, Psychic, Ice Beam, Thunderbolt, Recover, and other options to provide answers to a very large number of opponents. Speed reduces risk by letting Starmie secure knockouts before retaliation, while Natural Cure can make status substantially less threatening in generations where the ability is present. The major costs are resource competition and availability: Starmie often wants several valuable TMs, and in games such as HeartGold and SoulSilver obtaining Staryu or a Water Stone can require additional effort. When those costs are manageable, its mixture of coverage, Speed, recovery, and offense makes it one of the safest aggressive Water-types available.
Learnsets
16 moves · Brilliant Diamond Shining Pearl
Level Up — Brilliant Diamond Shining Pearl






Pokédex Entries
22 entries
If its body is torn, it can grow back if the red core remains. The core flashes at midnight.
An enigmatic POKéMON that can effortlessly regenerate any appendage it loses in battle.
As long as the center section is unharmed, it can grow back fully even if it is chopped to bits.
At night, the center of its body slowly flickers with the same rhythm as a human heartbeat.
Even if its body is torn, it can regenerate as long as the glowing central core remains intact.
When the stars twinkle at night, it floats up from the sea floor, and its body's center core flickers.
STARYU’s center section has an organ called the core that shines bright red. If you go to a beach toward the end of summer, the glowing cores of these POKéMON look like the stars in the sky.
STARYU apparently communicates with the stars in the night sky by flashing the red core at the center of its body. If parts of its body are torn, this POKéMON simply regenerates the missing pieces and limbs.
It gathers with others in the night and makes its red core glow on and off with the twinkling stars. It can regenerate limbs if they are severed from its body.
It appears in large numbers by seashores. At night, its central core flashes with a red light.
At night, the middle of its body slowly flickers with the same rhythm as a human heartbeat.
Even if its body is torn, it can regenerate as long as the glowing central core remains intact.
As long as its red core remains, it can regenerate its body instantly, even if it’s torn apart.
Staryu’s center section has an organ called the core that shines bright red. If you go to a beach toward the end of summer, the glowing cores of these Pokémon look like the stars in the sky.
Staryu apparently communicates with the stars in the night sky by flashing the red core at the center of its body. If parts of its body are torn, this Pokémon simply regenerates the missing pieces and limbs.
Large numbers of these Pokémon make their home at the seaside. At night, a strange red glow radiates from the center of their bodies.
This Pokémon gets nibbled on by Lumineon and others. Thanks to its red core, it regenerates fast, so it’s unconcerned by their snack attacks.
In many places, there are folktales of stardust falling into the ocean and becoming Staryu.
No number of injuries can bother Staryu. Its amazing regenerative powers return it to its previous state in half a day!
As long as the center section is unharmed, this Pokémon can grow back fully even if it is chopped to bits.
If you visit a beach at the end of summer, you’ll be able to see groups of Staryu lighting up in a steady rhythm.
Fish Pokémon nibble at it, but Staryu isn’t bothered. Its body regenerates quickly, even if part of it is completely torn off.
Where To Find Staryu
29 locations
Hano Beach · AlolaWalking · version details vary
Hano Beach Area
Poké Pelago · AlolaGift · version details vary
Poke Pelago Elite Four Defeated
Poke Pelago Poni Island Reached
Poke Pelago Ulaula Island Reached
Route 7 · AlolaSuper Rod, Bubbling Spots · version details vary
Alola Route 7 Area
Lilycove City · HoennSuper Rod · version details vary
Lilycove City
Cherrygrove City · JohtoGood Rod, Super Rod · version details vary
Cherrygrove City
Cianwood City · JohtoGood Rod, Super Rod · version details vary
Cianwood City
Olivine City · JohtoGood Rod, Super Rod · version details vary
Olivine City
Route 34 · JohtoGood Rod, Super Rod · version details vary
Road 34
Route 47 · JohtoSurf · version details vary
Road 47
Sea Route 40 · JohtoGood Rod, Super Rod · version details vary
Road 40
Union Cave · JohtoGood Rod, Super Rod · version details vary
Union Cave (B2F)
Route 8 · KalosGood Rod · version details vary
Road 8
Cinnabar Island · KantoSuper Rod · version details vary
Cinnabar Island
Five Island · KantoSuper Rod · version details vary
Five Island
Icefall Cave · KantoSuper Rod · version details vary
Icefall Cave (waterfall)
One Island · KantoSuper Rod · version details vary
One Island
Pallet Town · KantoSuper Rod · version details vary
Pallet Town
Route 18 · KantoOverworld Water · version details vary
Road 18
S.S. Anne · KantoSuper Rod · version details vary
S.S. Anne
Sea Route 19 · KantoSuper Rod, Good Rod, Overworld Water · version details vary
Road 19
Sea Route 20 · KantoSuper Rod · version details vary
Road 20
Sea Route 21 · KantoSuper Rod, Overworld Water · version details vary
Road 21
Seafoam Islands · KantoWalking, Super Rod, Surf · version details vary
Seafoam Islands (1F)
Seafoam Islands (B1F)
Seafoam Islands (B2F)
Seafoam Islands (B3F)
Seafoam Islands (B4F)
Vermilion City · KantoSuper Rod · version details vary
S.S. Anne dock
Vermilion City
Canalave City · SinnohSuper Rod · version details vary
Canalave City
Sunyshore City · SinnohSuper Rod · version details vary
Sunyshore City
Humilau City · UnovaSurf · version details vary
Humilau City
Route 13 · UnovaSurf, Surf Spots · version details vary
Road 13
Undella Town · UnovaSurf, Surf Spots · version details vary
Undella Town
Held Items
2 items
- Ruby: 5% chance
- Sapphire: 5% chance
- Emerald: 5% chance
- Firered: 5% chance
- Leafgreen: 5% chance
- Diamond: 5% chance
- Pearl: 5% chance
- Platinum: 5% chance
- Heartgold: 5% chance
- Soulsilver: 5% chance
- Black: 5% chance
- White: 5% chance
- Black 2: 5% chance
- White 2: 5% chance
- X: 5% chance
- Y: 5% chance
- Omega Ruby: 5% chance
- Alpha Sapphire: 5% chance
- Sun: 5% chance
- Moon: 5% chance
- Ultra Sun: 5% chance
- Ultra Moon: 5% chance
- Ruby: 50% chance
- Sapphire: 50% chance
- Emerald: 50% chance
- Firered: 50% chance
- Leafgreen: 50% chance
- Diamond: 50% chance
- Pearl: 50% chance
- Platinum: 50% chance
- Heartgold: 50% chance
- Soulsilver: 50% chance
- Black: 50% chance
- White: 50% chance
- Black 2: 50% chance
- White 2: 50% chance
- X: 50% chance
- Y: 50% chance
- Omega Ruby: 50% chance
- Alpha Sapphire: 50% chance
- Sun: 50% chance
- Moon: 50% chance
- Ultra Sun: 50% chance
- Ultra Moon: 50% chance
Additional Images
PokeAPI sprites
Open this section to load extra PokeAPI sprite images.
Staryu Biology and Behavior
Staryu's five appendages can be torn away or eaten by predators without permanently harming it because the missing portions regenerate rapidly as long as its central core remains intact. It lacks conventional jointed limbs and is described as using psychic power to move its body. After sunset, the central red core glows intensely, and groups rise from the seafloor and align themselves beneath the night sky while their cores flicker in patterns associated with the stars. The animated series also uses the core as a visible indicator of physical condition, becoming dim and flashing slowly when Staryu is weakened.
Staryu Biological Data
- National Pokédex
- #120
- Species
- Star Shape Pokémon
- Height
- 2' 7" (0.8 m)
- Weight
- 76.1 lbs (34.5 kg)
- Habitat
- Sea
- Color
- Brown
- Body Style
- Blob
- Gender
- Genderless
Misc
Catch Rate: 225
Base Experience: 68 Exp
Hatch Counter: 20
Staryu Size Comparison: BETA
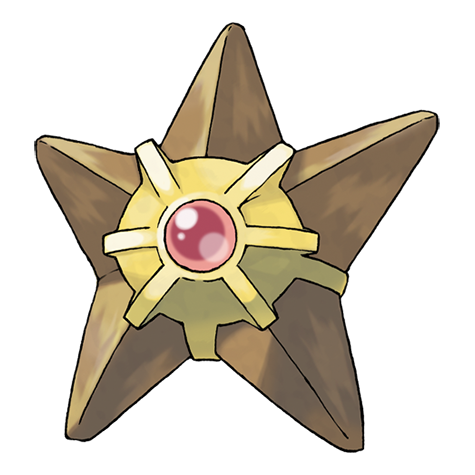
Staryu is listed at 2' 7" (0.8 m) and shown in an in-chart visual comparison.
How is visual size determined?
Pokédex height is treated as the official listed measurement, but the chart uses pose-aware visual scaling so each sprite looks reasonable in a direct comparison.
For long or coiled Pokémon, the listed height may represent total body length rather than upright height. For Pokémon with floppy ears, leaves, feathers, antennae, wings, or other flexible features, the chart usually measures to the top of the solid, substantial part of the head or body instead of the tallest decorative feature.
The goal is not to replace the official height, but to make the artwork compare naturally at the size it appears to occupy.